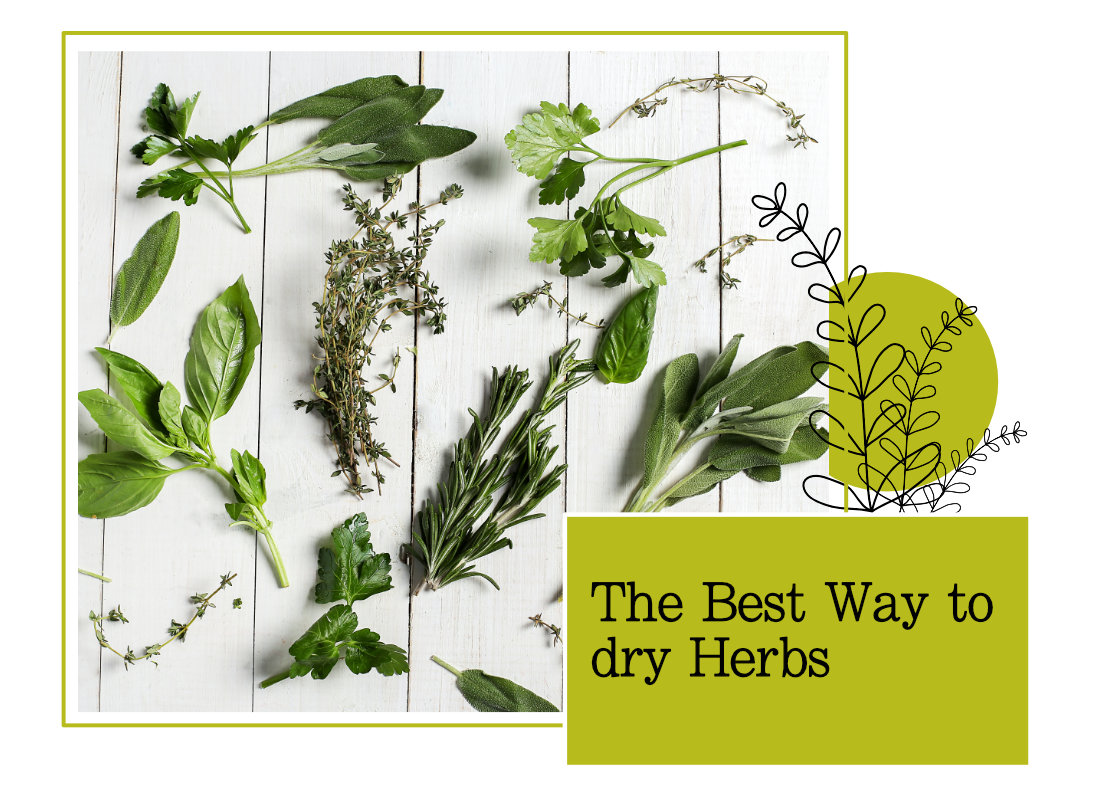
The best way to dry herbs
Herbs are a wonderful and easy thing to grow, they can be grown anywhere, inside or out. Fresh herbs are in abundance during the spring and summer and the perfect way to preserve them for the winter months is by drying them.
Although there are many ways to preserve herbs, freezing and drying are the most common. Drying herbs is really easy to do and will give you a stock of herbs which you can use for cooking, crafts, making oils…… it really is surprising what dried herbs can be used for!
If you need some inspiration for which herbs to grow, the post The best and easiest herbs to grow may help.
This post will show you how straight forward it is to dry your own herbs, you don’t need many materials or space and even the kids can help (if you want them to!)
Why dry herbs?
Herb plants grow rapidly during the summer months and it is best to havest your herbs regularly to encourage healthy growth therefore sometimes having too many fresh herbs to use. Drying them gives you a year round supply especially for the winter months. Once dried they are easy to store and will last about a year. Some would probably last longer but you can enjoy drying fresh ones each summer!
Although there are many methods for drying herbs I find hang drying is the most enjoyable. Mainly because I enjoy the process of cutting and bundling and seeing them all hanging to dry is so pretty!
What you will need
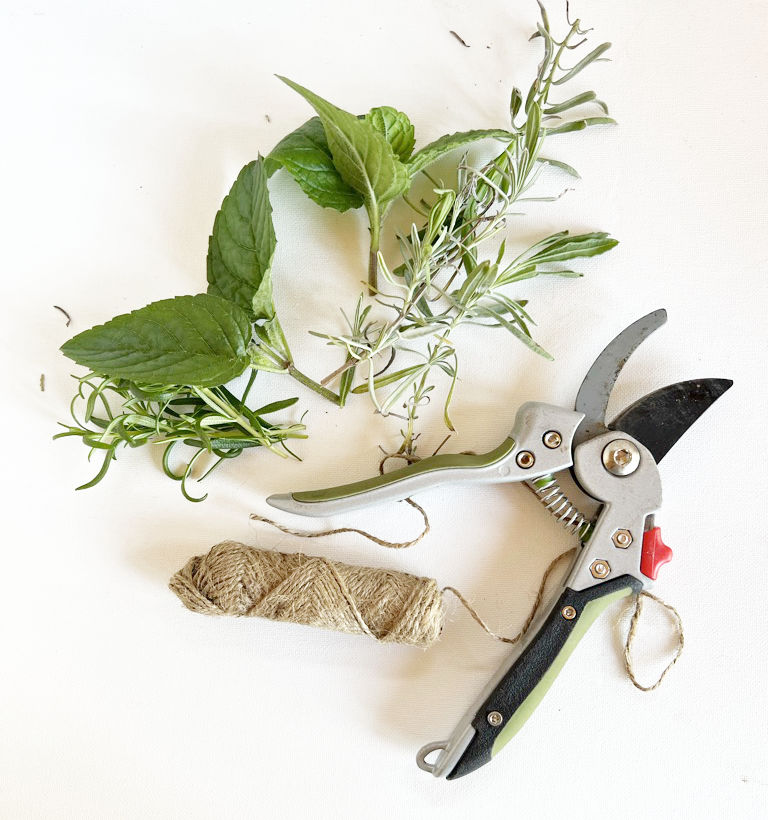
- Secateurs or strong scissors
- String
- A dark dry space to hang them
- Something to hang them on
- Airtight containers
Which herbs can I dry?
Most herbs can be dried but less tender herbs such as Tarragon, bay, mint, rosemary, lavender and thyme hang dry well. More tender herbs such as basil, chives and parsley can lose some of the flavour when drying so are best frozen.
How do you hang dry herbs?
1. Cut your herbs
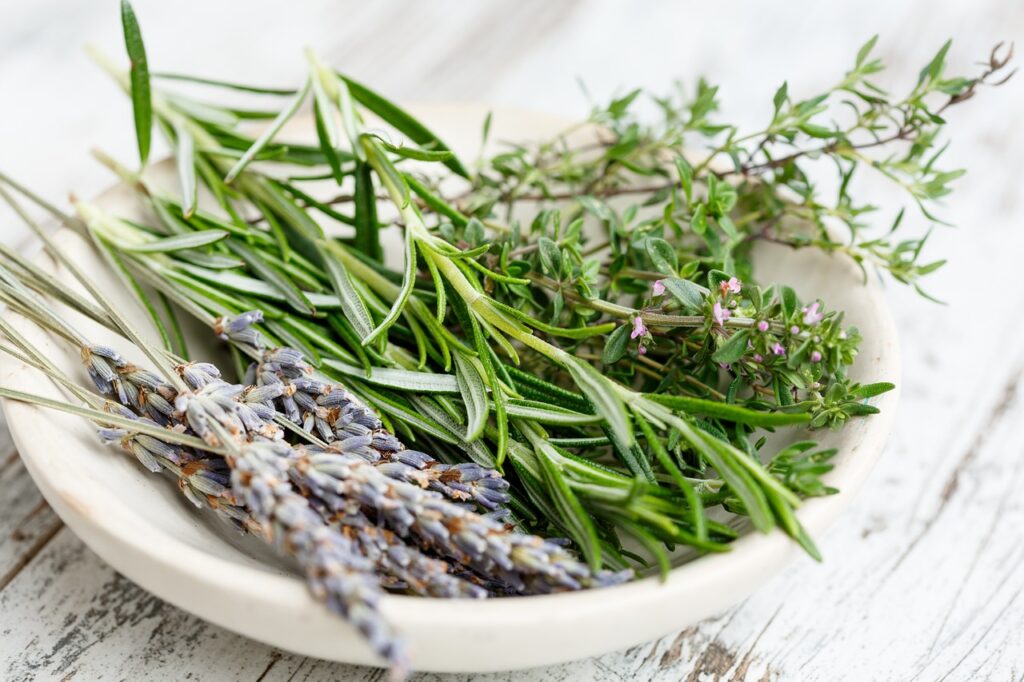
Depending on what space you have for drying your herbs, it may be best to start with a few bundles. Choose a less tender herb such as tarragon, lavender or thyme and cut a few bunches.
The best time to cut your herbs for drying is in the morning as herbs have more flavour early in the day before the sun dries there oils.
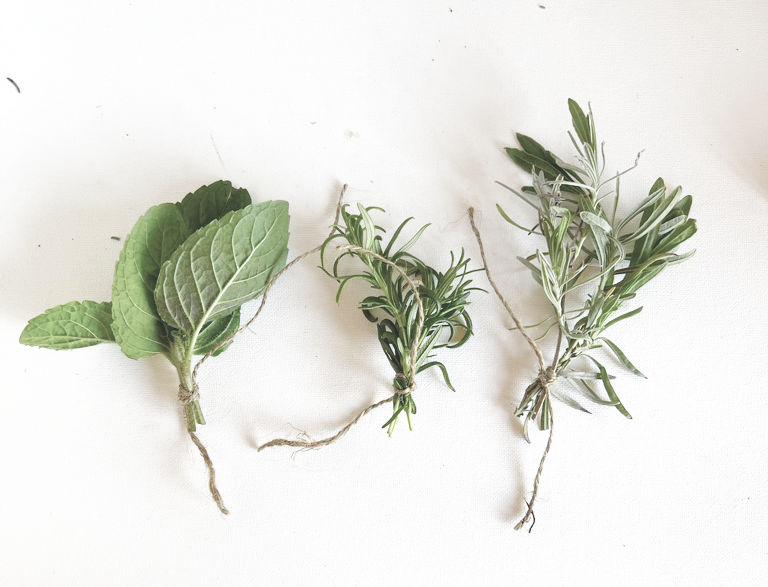
2. Bundle your herbs
Check they are clean and give them a bit of a shake to get rid off any dirt or insects hiding in there. Try not to wash them though as this will wash the oils and reduce the flavour. Make sure your herbs are dry before bundling.
Using string or twine bundle your herbs into small bunches of around 4-6 stems. Remove any old leaves and the bottom leaves where you are going to tie them.

3. Hang them out to dry!
You just need a dark, ventelated space to dry them. A dark shed, garage, cupboard…. anywhere as long as it is dark and roomish temperature. You can buy drying racks, but you can use anything to hang them. Coat hangers and rails work well or an old piece of wood with some hooks will be fine.
Hang your bundles upside down on your drying rack.
You can cover the herbs with paper bags which helps keep them dry and in the dark which will help with the drying process and also catches any dried herbs which fall off the stems.
Just use regular brown paper bags add some ventilation holes and tie over the herbs.
4. Store them
After around 2 weeks your herbs should be all dried and ready for storing. Carefully take your herbs off their drying rack and transfer the dried leaves into air tight containers.
If you try and keep the leaves whole and crumble when using for cooking they will keep more flavour.
Store your dried herbs in a cool, darkish place and remember to label them!
Other ways to dry herbs
There are other quicker ways to dry herbs but the process of hanging to dry is much more enjoyable!
Dehydrating
If you have a kitchen dehydrater, these can be effective for drying herbs. Refer to the manufacturer’s instructions for your model, but in most cases when leaves and short sprigs are arranged on trays in a single layer, they will dry in 1 to 3 hours at 90 to 115° F.
Oven Drying
This process will take a couple of hours and a lot of checking – you don’t want to burn your herbs! Most herbs will dry completely when scattered on a baking sheet and baked at about 180°F for 1 to 2 hours.
Microwave Drying
This is the fastest method if you need dried herbs quickly, but it does take some trial and error and your herbs will soon scorch if you do them too long.
Different herbs dry faster than others, so watch them closely and use short intervals. Lay sprigs of herbs on a paper towel and then microwave for 30 seconds. Then use 15 to 30 second intervals until the herbs are brittle and completely dry. The total time can be anywhere from 1 to 3 minutes.
What can you use dried herbs for?
Cooking is the obvious choice for using dried herbs but they can also be used in other ways. From making oils or teas to crafts. 5 great ideas to for your dried herbs.
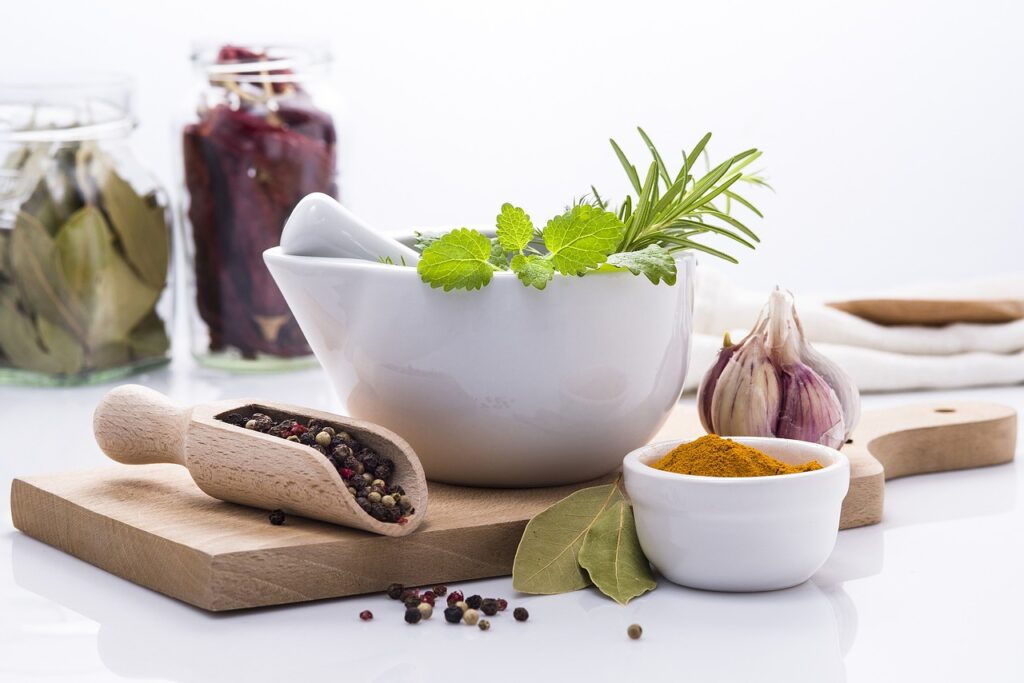
1. Cooking
Dried herbs can be used as a substitute for fresh in most dishes but dried herbs work especially well in soups and stews.
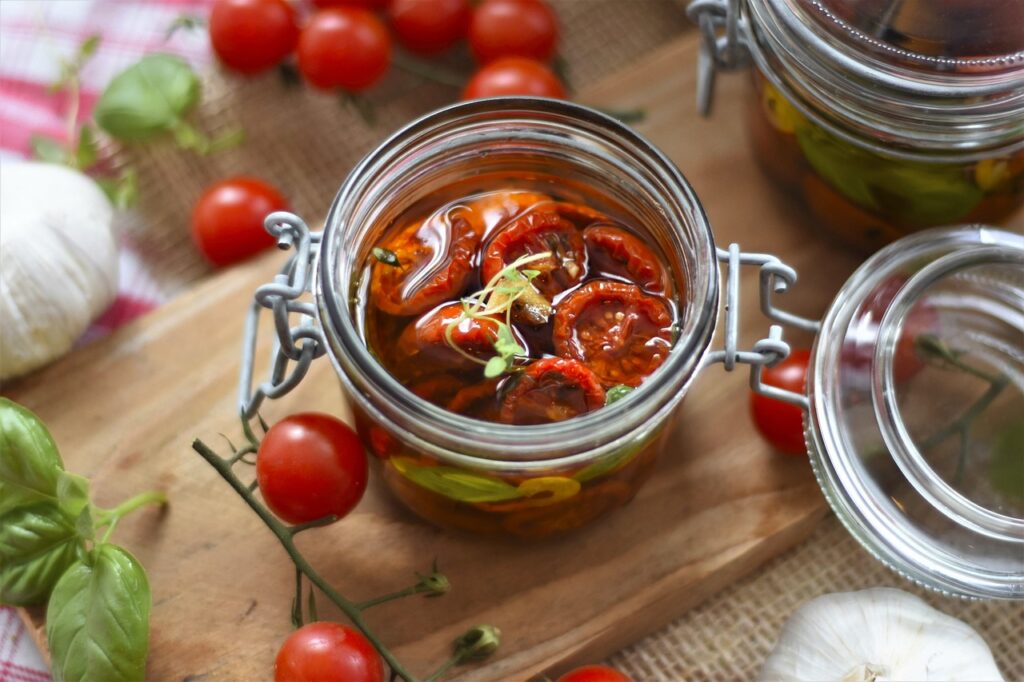
2. Oils
Dried herbs can be infused with olive oil to make a flavoursome cooking oil or dressing.
3. Crafts
Dried herbs can be used for decoration in many crafts, especially home made candles and clay.


4. Pot pourri
Some herbs have a strong scent even when dried, Lavender is especially known for its calming fragrance.
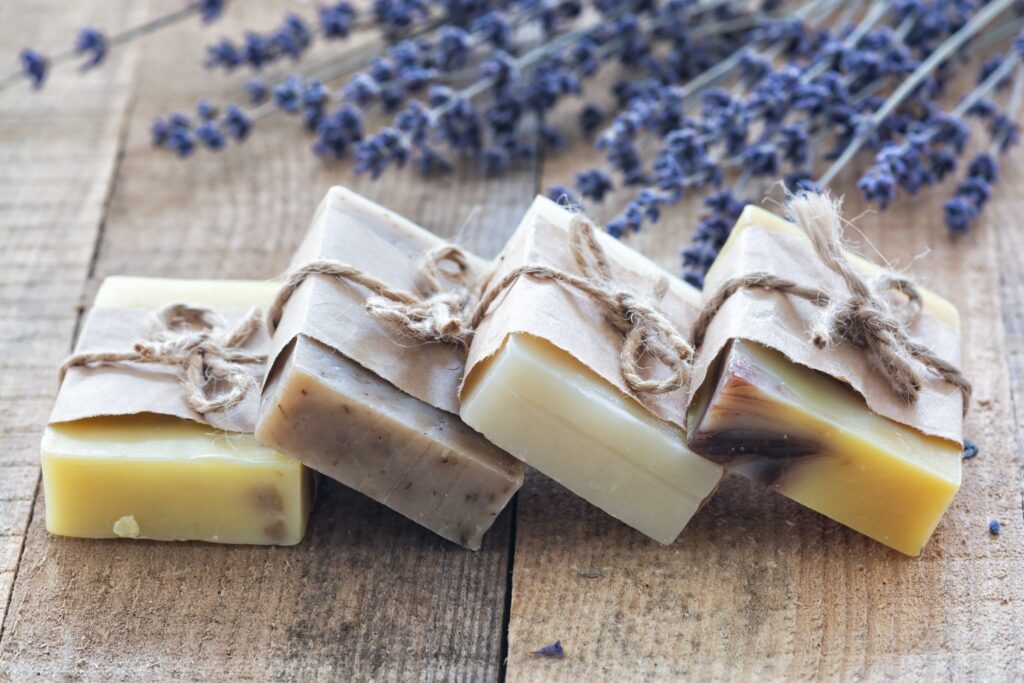
5. Skincare
Dried herbs can be used to make homemade soaps and various other natural skin and hair care products.
Drying herbs is a relaxing, enjoyable process and ensures that your herb garden has its uses even into the winter months. A peaceful activity for the grown ups and the kids can help too (if you want them to!)
After drying all your herbs, use them in cooking or try some new crafts with them such as soap making or candle making. (Which is what I will be trying in a few weeks!)
This post from The Spruce Crafts has some great ideas for infusing herbs and other natural materials into candles and some good tips for beginner candle makers.
Rural Sprout has some great ideas for natural soaps, using herbs and other natural ingredients with easy to follow instructions.
Who would of thought dried herbs could be so much fun!